|
Whether you are a small or big business, you probably have an email marketing plan set up or at least think about it. There are so many possibilities out there, so it can be quite a challenge to pick the one that is right for you. One of the possibilities that we are going to focus on today is GetResponse.
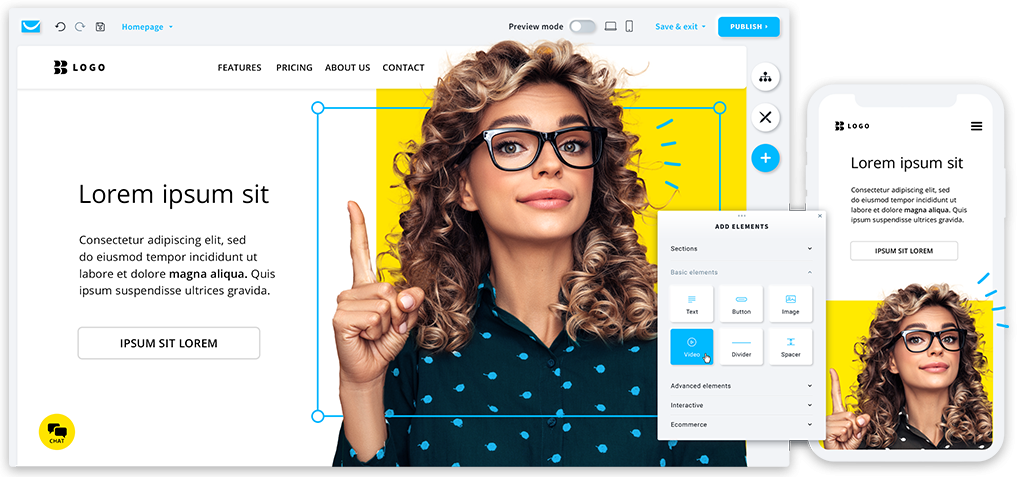
One of the platforms that offer the most fully-featured email apps that lets you create email campaigns with automation and autoresponders, sales funnels, makes you set up a live chat, push notifications, and even webinars. GetResponse also allows you to design your own landing page template. This not only saves time but also ensures that your communications and landing pages are visually appealing and on-brand right from the start. Also, if you had a previous email platform, GetResponse also has an exceptional migration service, ensuring that all your data is transferred smoothly from your previous platform.
|
User Guide
-
A GetResponse account (even trial is fine)
-
A domain email (e.g. you@yourdomain.com) – looks more professional and helps deliverability
-
A simple offer/lead magnet or at least a clear reason why people should join your list
1. Set up your list and basic settings
1.1. Create (or check) your main list
-
Log in to GetResponse.
-
Go to Lists (or Contacts → Lists, depending on UI version).
-
Create a new list like: brand-main-list (no spaces).
-
Set:
This is the list you’ll use for newsletters, automation, and segmentation.
1.2. Set your sender details
-
Go to Menu → Manage account / Email addresses.
-
Add your sender email (e.g. newsletter@yourdomain.com).
-
Confirm via the verification email you receive.
-
If you can, add SPF/DKIM (GetResponse guides you through DNS records) to improve deliverability.
2. Build or import your email list (legally)
2.1. Import existing contacts (if you have them)
-
Go to Contacts → Add contacts / Import contacts.
-
Choose:
-
Map the fields (name, email, etc.) and confirm that:
-
Finish the import.
2.2. Create a signup form or landing page
You need a way to capture new subscribers.
Option A – Form
-
Go to Forms and popups.
-
Click Create form.
-
Choose a template or blank form.
-
Add fields you need (usually just: email, first name).
-
Connect it to your main list.
-
Save & publish.
-
Embed the form on:
Option B – Landing page
-
Go to Menu → Landing pages.
-
Click Create landing page.
-
Choose a template (e.g. lead magnet, webinar, newsletter signup).
-
Connect the signup form on the page to your main list.
-
Add your copy, image, and call-to-action.
-
Publish and copy the landing page URL.
3. Create and send your first email newsletter
This is your “regular broadcast” email to your list.
3.1. Start a new newsletter
According to GetResponse docs:
-
Go to Tools → Email marketing. GetResponse
-
In the Newsletters tab, click Create newsletter.
-
Choose Drag-and-Drop Email Editor (or AI Email Generator if you want help writing). GetResponse
3.2. Configure newsletter settings
You’ll see a setup screen. Fill in:
-
Message name – internal only (e.g. Welcome 2025 – main list).
-
Linked list – select your main list (so stats are tied to it). GetResponse
-
Subject line – what subscribers see in their inbox.
-
From email and Reply-to – choose your branded email.
-
Optional: Distribution settings / analytics:
Click Next step to go to the template editor. GetResponse
3.3. Design your email
-
Choose a template or start from scratch.
-
Use drag-and-drop blocks:
-
Text
-
Images
-
Buttons (for CTA)
-
Edit:
-
Check mobile preview and make sure the email looks okay on small screens.
3.4. Send or schedule
-
On the final step, choose:
-
Optionally enable Perfect timing – GetResponse sends the email when each subscriber is most likely to open, based on past behavior. GetResponse
-
Click Send or Schedule.
Boom – that’s your first newsletter.
4. Set up a simple autoresponder (always-on welcome email)
Autoresponders are basic automation: “X days after subscription, send email Y”.
4.1. Create a welcome autoresponder
-
Go to Menu → Email marketing → Autoresponders (or directly Autoresponders in your menu).
-
Click Create autoresponder.
-
Set:
-
Autoresponder name (internal)
-
Linked list (your main list)
-
Day 0 – to send immediately after sign-up.
-
Choose Drag-and-drop editor.
-
Write a welcome email, for example:
-
Save and activate.
Now everyone who subscribes gets your welcome email automatically.
4.2. Create a short welcome series (optional)
Repeat the above, but:
This is the “light” version of automation – next we go into full Marketing Automation workflows.
5. Understand GetResponse automation workflows (quick theory)
GetResponse automation = visual workflows made of:
-
Conditions – “when X happens” (subscribes, opens email, clicks link, visits page, buys product) GetResponse+1
-
Actions – “do Y” (send email, assign tag, move to list, score lead) gr-dms.s3.amazonaws.com
-
Filters – split traffic by segments (random split, amount, specific filter). GetResponse+1
You chain these blocks together into a flow that reflects your subscriber’s journey.
6. Create your first automation workflow (step-by-step)
Let’s build a simple welcome + nurture automation.
6.1. Open Automation builder
-
Go to Menu → Automation.
-
Click Create workflow. GetResponse
-
Choose:
For your first time, pick a template like “Welcome new contacts”, “Lead magnet funnel”, etc. GetResponse+1
6.2. Define your trigger (how the automation starts)
Common starting condition:
This means: whenever someone subscribes here, enter this workflow.
6.3. Add your first action – send welcome email
-
Drag Action → Send message under the condition.
-
Connect the arrow from the Condition to this Action.
-
Choose your welcome email (either:
-
Re-use an existing newsletter, or
-
Create a dedicated “automation message” email from inside the builder).
Now, when they join → they automatically get this email.
6.4. Insert a wait step
-
Drag Action → Wait.
-
Place it after the first email.
-
Set Wait 2 days (example).
This creates a delay before the next action.
6.5. Split based on behavior (opens/clicks)
-
Drag a Condition → If opened message or If clicked link.
-
Connect it after the Wait block.
-
Choose the email you sent (the welcome message).
-
Now you have two paths:
6.6. Customize follow-up
For example:
You can add more Wait, Send message, Tag, Score steps as needed. gr-dms.s3.amazonaws.com+1
6.7. Activate your workflow
-
Double-check:
-
All conditions are configured
-
All actions have an email selected
-
There are no red warnings or unconnected blocks.
-
Click Save and publish / Activate.
Now the whole thing runs 24/7 in the background
7. Three “ready-to-copy” automation ideas
7.1. Lead magnet delivery workflow
Goal: they sign up → get freebie → get nurtured → get an offer.
Flow:
-
Condition: Subscribe via Lead magnet landing page.
-
Action: Send message → “Here’s your [lead magnet]”.
-
Wait: 1–2 days.
-
Action: Send message → “How to use [lead magnet] + tips”.
-
Wait: 2–3 days.
-
Condition: If clicked link in email 2.
-
On YES path:
-
On NO path:
7.2. Simple onboarding sequence for SaaS / service
-
Trigger: Subscribe from signup form on your main site.
-
Email 1 (Day 0): Welcome + login/help links.
-
Email 2 (Day 2): “How to get first result in 10 minutes.”
-
Email 3 (Day 4): Social proof / case studies.
-
Email 4 (Day 7): Offer, call, or demo booking.
7.3. Cart abandonment (if integrated with your store)
Requires e-commerce integration.
-
Trigger: Abandoned cart (Condition in automation).
-
Wait 1–2 hours.
-
Send email: “You left something behind.”
-
Wait 1–2 days.
-
Condition: If purchased.
-
YES: Tag as customer, send thank-you.
-
NO: send second reminder or small incentive.
8. Analyze, optimize, repeat
After you send a few campaigns and run your workflow for a bit, look at:
-
Newsletter stats – open rate, CTR, unsubscribe, spam complaints (under Email marketing → Reports/Statistics). GetResponse
-
Automation stats – see how many people pass each block in the workflow (look inside the Automation builder).
-
Improve:
-
Subject lines → to improve opens
-
Call-to-action & email copy → to improve clicks
-
Timing (wait blocks) → based on how quickly people tend to act
-
Segmentation → send different content to different groups
Make one change at a time per workflow or campaign so you know what actually helped.
9. A simple “do this in order” checklist
If you want a straight execution path:
-
Day 1–2
-
Day 2–3
-
Day 3–4
-
Create first newsletter
-
Send it to your list
-
Day 5–6
-
Day 7+
|